4. Configuring your first site
Categories:
1. Using the Scanner for your first site
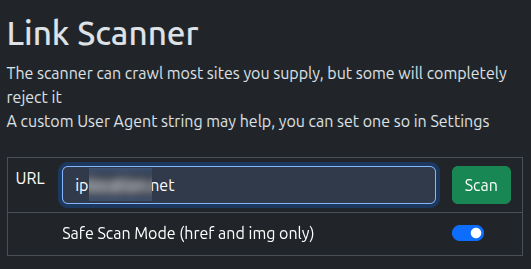
Head on over to the Scanner tab
Simple as can be, just type or paste in a website, and hit Scan If there’s something on a specific page that’s not working, try the whole page address.
The scanner will go off and hopefully pull back the page, and you’ll see a list of links like this:
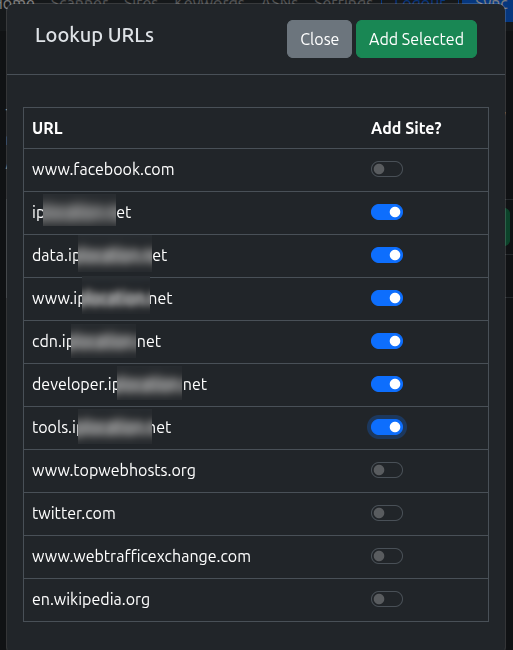
Pick the links you want to add to the VPN and click Add Selected If you’re not sure what to pick, see Guidance on Domains to add Try not to add everything!
Sadly, some sites, won’t scan and you’ll see something like this, where you can still add the base domain of the site to the list. Do that, run a sync and try the scanner again. If not, have a look at the pages linked at the bottom of this page.
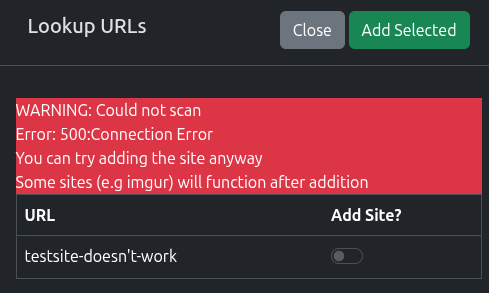
Remember - the scanner doesn’t go over the VPN (yet), so you might be able to scan after the first Sync.
2. Review the Sites Added
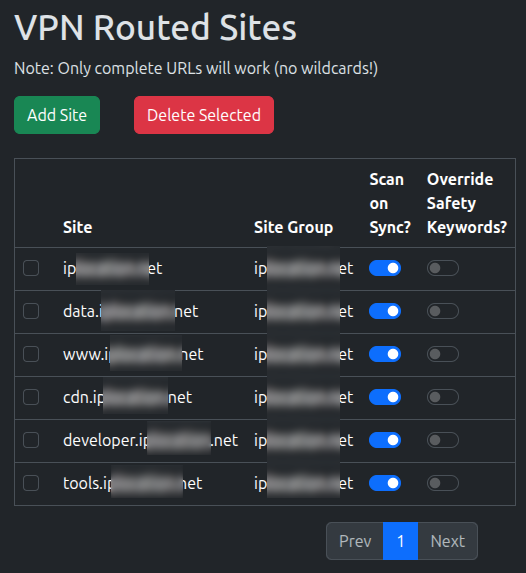
You’ll be taken to the Sites page, where you new sites should be there.
Here, you can turn off Scanning the site when the Sync runs. For now, leave it on, but ideally, you want to turn it off for overlaps/most sites
3. Add some Safety Keywords
When it can crawl sites, the scanner works great, but it can get a bit over-ambitious, so we’ll need to reign it in a bit.
Most sites will have links to social media and other sites, places you don’t want to send over the VPN.
This is where Safety Keywords come in. They’re incredibly important in making sure you don’t start routing other sites
Any links the scanner discovers during a sync will be checked against any of the listed keywords, if that word’s in the address, it’ll drop it from the results.
Visit the Keywords tab and you’ll see a blank list for now.
Go ahead and add anything you think would be useful and/or click Import Suggestions

4. Turn on Flush States
Flush States forces the firewall to forget any established connection.
This works perfectly for testing as it removes a large unknown variable of whether a site is working. Most connections will automatically re-establish, however, it’s generally not desirable to have this happen regularly
If you wish to avoid having connections drop, please wait for connections to time out before testing a site. This can take a few minutes at least.
- Visit the Settings page
- Toggle Flush States on Sync to On

Once the site is working, Flush States should be turned off again.
5. Run a Sync
That’s it! Click the Sync button and it’ll run off and apply the changes
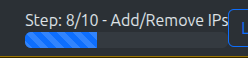
You can monitor the progress in the top bar:
5. Check it Worked
That’s it!
If it’s your first sync, you may want to run it again to avoid the [Double Sync Problem]
Otherwise, open a new browser (don’t use the same one, for your first site, we want to make sure there’s no old connections hanging around) and test the site.
Whilst it’s been written a lot, it cannot be stressed enough how important opening a new browser here is.
This is your first site, let’s get a win, rather than mistaking an error.
“Established” connections can stick and you won’t see any changes.
If it didn’t work:
- Check if there’s new IPs in the Alias on OPNsense (System -> Firewall -> Alias)
- Have a look at the [Definitive Site Fixing Guide]
- Check the [Logging] for the “worker” container
If you used the same IP locating site as the demo and see your IPv6 change but not your IPv4:
- Go add “ipv4.ip……..* to the site list
- Have a read about “Safe Scanning” on the sites page
Next Step: Setting up Scheduled Syncs